Adding a Photo to a Page
When you add a photo to a page in your project, you have the choice of adding it as a free-floating photo or adding it to a frame. One of the cool features of Artisan is the ability to manipulate and format frames and mats. So whenever possible, insert a frame first (see Working with Frames and Mats for more information).
To add a photo to your page from your computer, follow these steps:
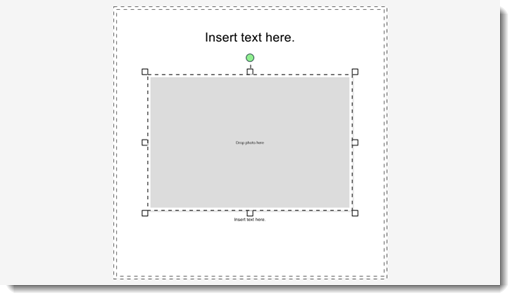
- With the target page open, select the frame to which you will add the photo.
Handles appear around the frame and "Drop photo here" appears in the center.
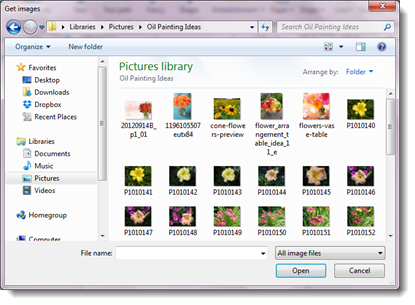
- From the Insert Ribbon, click Photo, From My Computer.
The File Open dialog box appears.
- Search for and select a photo, then click Open.
The photo appears in the center of the frame.
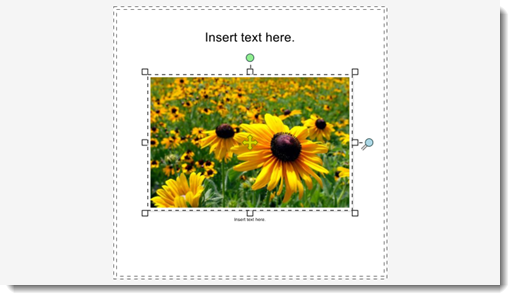
See Working with Photos and Images for information on formatting and manipulating your photo now that it is placed on the page.
Note: Once a photo is added to a page, it becomes part of the project and a copy is placed in the Photos panel.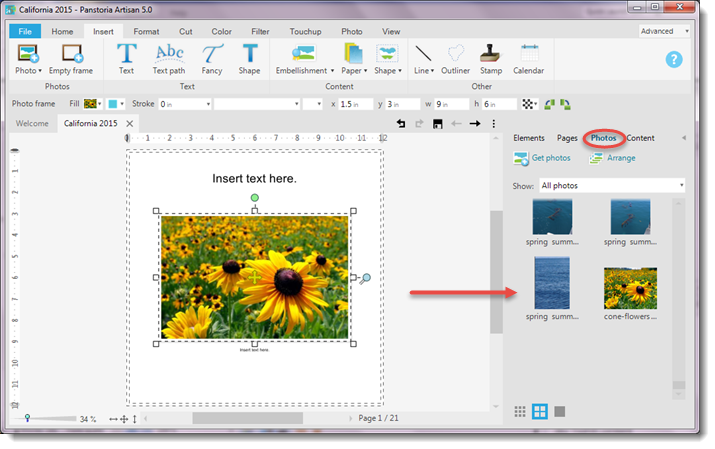
Photos in the photo panel can be dragged and dropped right onto your project page. See Using the Photo Panel for more information.